


TAR & GRAVEL ROOF RESTORATION PROCESS
STEP 1
The loose gravel material is removed from the roof using an industrial vacuum system.
STEP 2
The roof is then planed to a smooth finish and thoroughly cleaned.
STEP 3
Problem areas are patched using asphalt.
STEP 4
An acrylic primer base coat is applied.

STEP 5
Liquid silicone and polyester fabric is used to patch the roof perimeter edge and all rooftop protrusions.
STEP 6
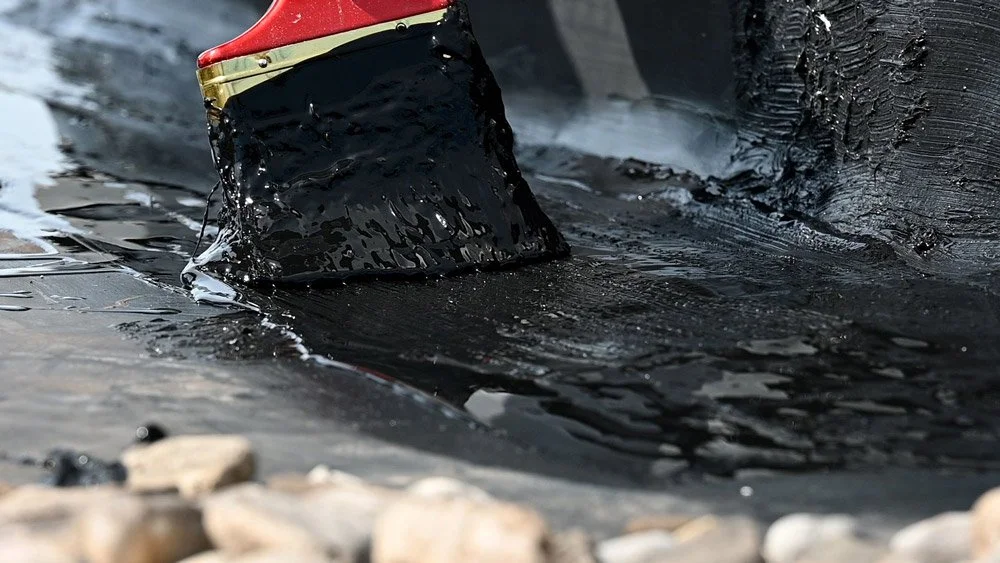
A thick base layer of silicone is applied to the entire roof.

STEP 7
A layer of polyester fabric is rolled out and overlapped to give the new silicone membrane extra strength.

STEP 8
The fabric is then covered with another layer of silicone, adding a watertight seal.

STEP 9
A final top coat of silicone is applied.
Mod Bit/Single Ply ROOF RESTORATION PROCESS
STEP 1
We clean the entire roof surface using specialized pressure washing equipment.
STEP 2
The dirty water is then removed from the roof and the roof is then dried to prepare the surface.
STEP 3
We apply a single ply primer coat as required.
STEP 4
We patch all identified problem areas.

STEP 5
We used liquid silicone and polyester fabric to seal the perimeter of the roof as well as all rooftop protrusions.
STEP 6
A thick base layer of silicone is applied to the entire roof.

STEP 7
A layer of polyester fabric is rolled out and overlapped to give the new silicone membrane extra strength.

STEP 8
The fabric is then covered with another layer of silicone, adding a watertight seal.

STEP 9
A final top coat of silicone is applied.
BALLASTED EPDM RESTORATION PROCESS
STEP 1
We begin with the removal of the stone ballast surrounding all rooftop protrusions.
STEP 2
Each protrusion is then inspected for visible damage.
STEP 3
All exposed areas are thoroughly cleaned.
STEP 4
An initial primer coat is applied to ensure proper adhesion of the silicone to the existing EPDM.

STEP 5
A thick uniformed base layer is hand applied along the seams of each rooftop protrusion.
STEP 6
A layer of polyester fabric is added along the entire seam.
STEP 7
A final silicone top coat is then applied on top of the polyester fabric.

STEP 8
This tested restoration process is then repeated for each rooftop protrusion.

STEP 9
The original stone ballast is moved back into place. The final result is a fully sealed and restored ballasted EPDM flat roof.
METAL RESTORATION PROCESS

Step 1
The restoration process begins with a comprehensive inspection of your metal roof.
Step 2
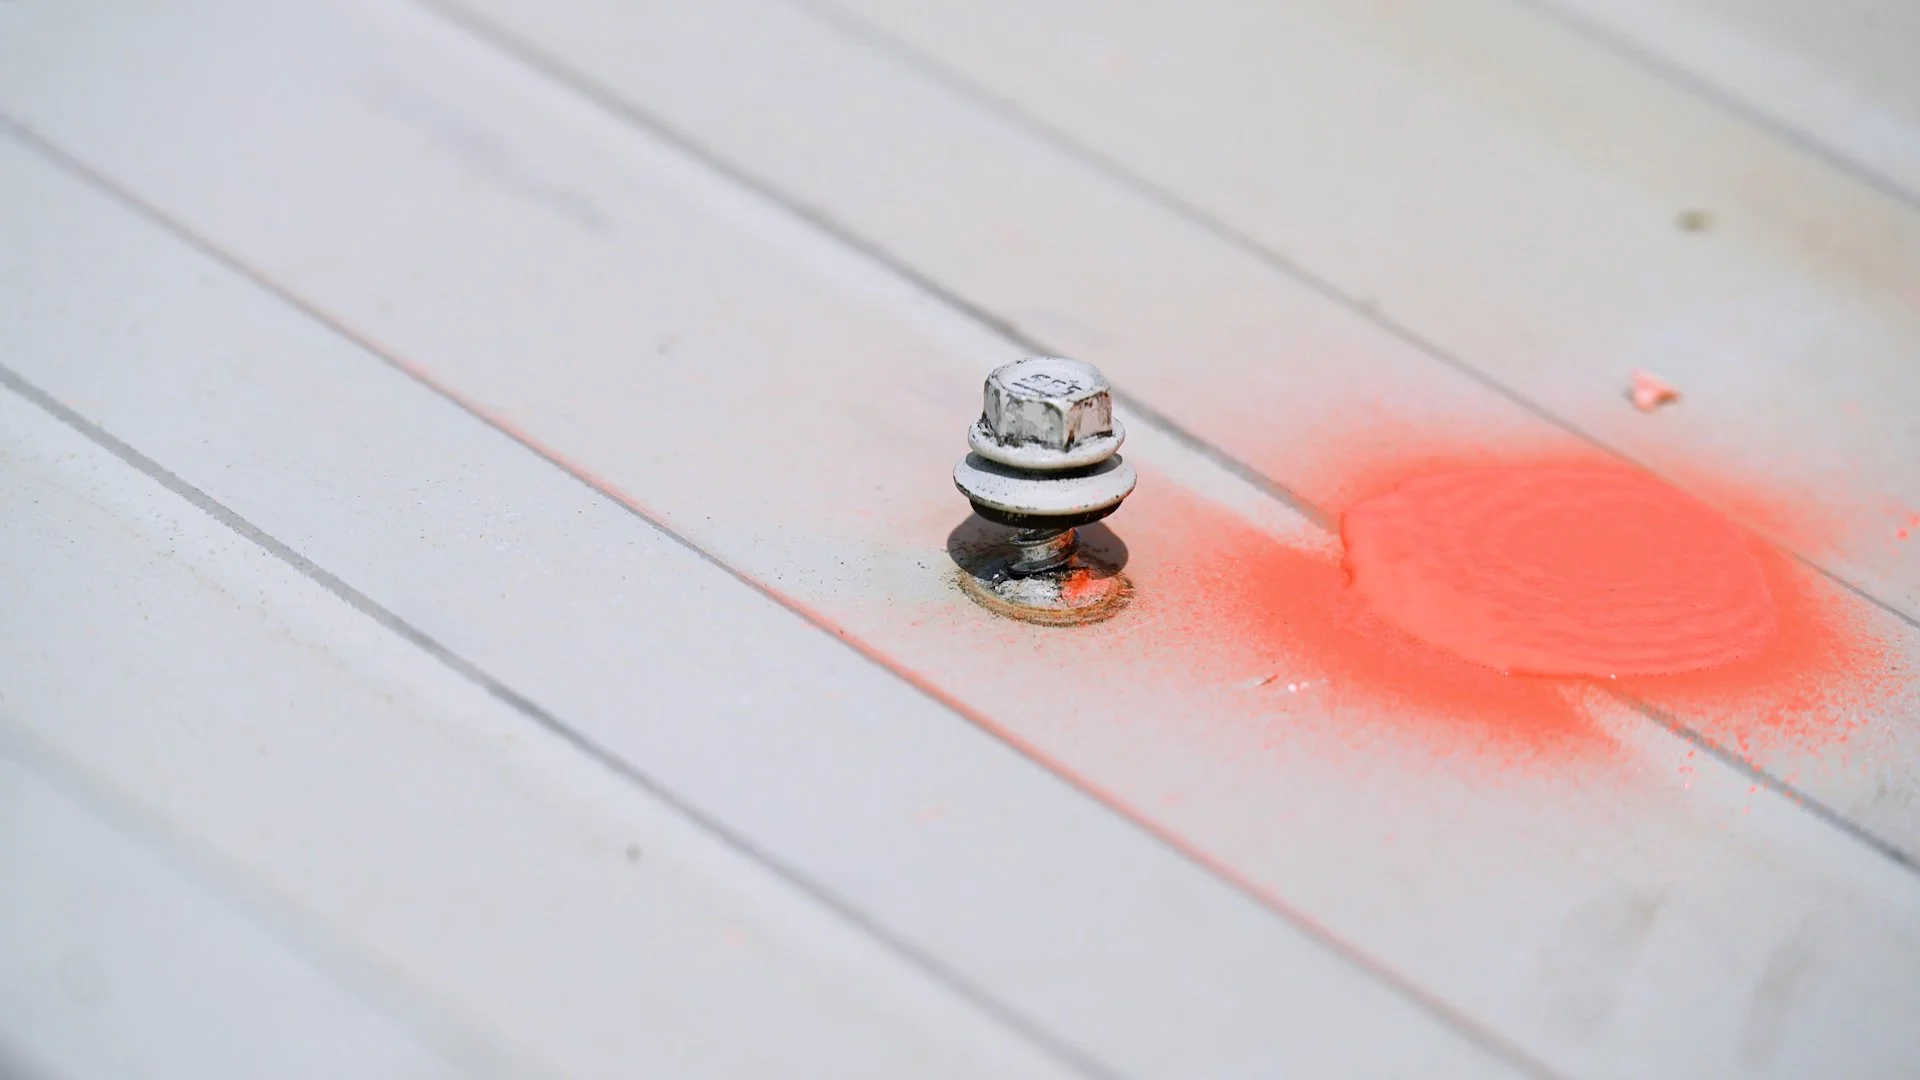
We identify all problem areas — from rust spots and loose fasteners to seam separations and leaks.

Step 3
Next, a deep cleaning of the entire roof surface using high-powered pressure washing equipment.

Step 4
Once the roof is clean and dry, we tighten or replace loose fasteners. A rust inhibiting primer is applied if needed.

Step 5
Then, we seal all seams, valleys, ridge caps, fasteners, and penetrations using a sealant/polyester fabric when needed.

Step 6
Finally, a thick, seamless layer of either silicone or acrylic coating is applied. The result? A fully finished roof.